通过kubespray实现k8s的安装记录【https://github.com/kubernetes-sigs/kubespray】。
所使用的分支是release-2.11。\
——————kubespray加速方案—————-
https://github.com/wiselyman/k8s-installation
https://blog.csdn.net/zhouzixin053/article/details/104418164
—————–禁用IPV6————————-
以下是Centos7.8的祼系统的安装部署过程。
操作前必须禁用IPV6,否则在安装docker等默认使用ipv6连接。
如下图:

彻底禁用IPV6方法:http://www.kxtry.com/archives/3044
——————————————
虚拟机配置:2核4G, IP: 192.168.10.130 192.168.10.134
第一步:在执行kubespray脚本前的环境准备,从release-2.11这个版本,默认是使用python3来安装了,故需要安装python3。
注:请不要使用python2进行安装,本人经验证确认在执行【CONFIG_FILE=inventory/myk8s/hosts.yml python3 contrib/inventory_builder/inventory.py ${IPS[@]}】动作时,会出错,且无法解决。
1.yum install -y python3 python3-pip python3-devel
2.mkdir -p ~/.pip/ && vi ~/.pip/pip.conf,添加如下内容:
[global]
index-url=http://mirrors.aliyun.com/pypi/simple    【尽量不要使用https的源,有可能某些源会严格检查SSL是否过期之类,从而导致安装出错】
trusted-host=mirrors.aliyun.com
第二步:配置服务器免密互信
ssh-keygen -t rsa -C "abc@admin.com"
ssh-copy-id 192.168.10.130
第三步,安装必须组件。
1.pip3 install -r requirements.txt
直至最后提示以下成功信息
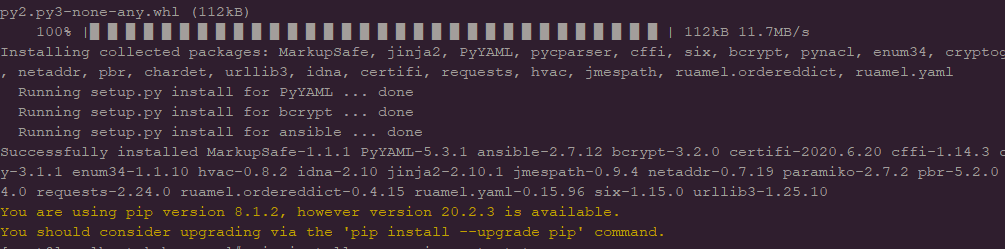
第三步:进入kubespray的release-2.11分支安装单机版本。
mkdir inventory/myk8s
declare -a IPS=(192.168.10.137 192.168.10.138) 【这里是空格隔开,不是逗号】
CONFIG_FILE=inventory/myk8s/hosts.yml python3 contrib/inventory_builder/inventory.py ${IPS[@]}
ansible-playbook -i inventory/myk8s/hosts.yml --become --become-user=root cluster.yml  -vvv --flush-cache【-vvv是显示安装细节过程,--flush-cache是清理操作缓存】
—————————-
加快安装效率及降低翻墙影响,可直接下载K8s离线包。
http://linuxtools.cn:42344/K8s_list/