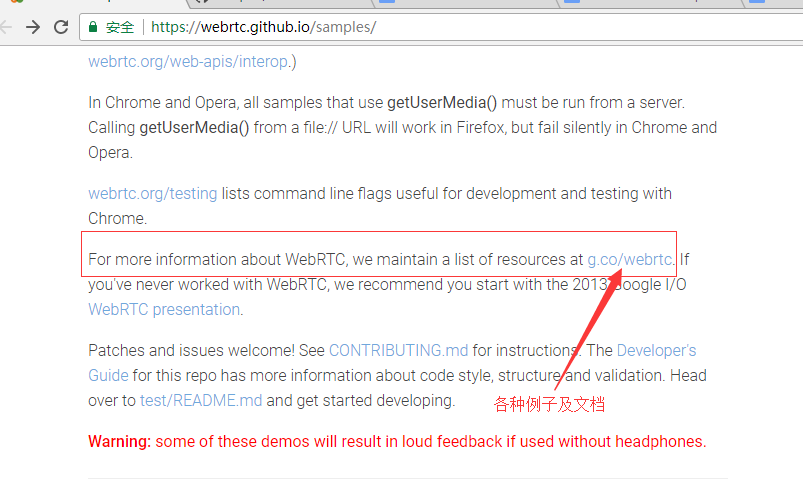
https://g.co/webrtc
作者归档:xinlu
Apple相关离线下载
Apple相关的离线下载地址
https://developer.apple.com/downloads
虚拟机的苹果驱动,要解压把下面的iso文件提出来,直接安装。
http://softwareupdate.vmware.com/cds/vmw-desktop/fusion/8.5.8/5824040/packages/
超牛B的图像压缩算法库
https://github.com/esimov/caire
Content aware image resize library
chrome-app
https://github.com/GoogleChrome/chrome-app-samples
springboot的启动脚本配置
springboot启动与停止的最基本的脚本配置
#!/bin/sh

path_current=`pwd`
path_script=$(cd "$(dirname "$0")"; pwd)
mode=$1

app_process=`ps -ef | grep "waypal-tracker-server.jar"| grep -v grep`

case "$mode" in
   'start')
        echo "it's ready to start op...."
        if test -n "$app_process"; then
                echo ""
                echo "$app_process"
                echo ""
        else
                cd $path_script   #进入脚本所在目录下,目的是使springboot的config目录生效。
                nohup java -jar $path_script/bin/waypal-tracker-server.jar logPath=$HOME/waypalers.cn/tracker/data > /dev/null 2>&1 &
                cd $path_current

        fi

        echo 'success to start.'
        ;;
   'stop')
        echo "it's ready to check process..."
        if test -n "$app_process"; then
                echo "had find app process informaton"
                echo $app_process | awk '{print ($2)}' | xargs kill -9
        fi
        echo 'success to kill.'
        ;;
    *)
        basename=`basename "$0"`
        echo "Usage: $basename  {start|stop}  [ server options ]"
        exit 1
        ;;
esac
exit 1
springboot的外部配置文件
springboot允许以下四种方式加载配置文件,其优先级如下:
http://docs.spring.io/spring-boot/docs/current-SNAPSHOT/reference/htmlsingle/#boot-features-external-config
spring boot允许你自定义一个application.properties文件,然后放在以下的地方,来重写spring boot的环境变量或者定义你自己环境变量
1.当前目录的 “/config”的子目录下
2.当前目录下
3.classpath根目录的“/config”包下
4.classpath的根目录下
springboot跳过测试
springboot的默认配置下,使用[mvn package]指令打包,会进行单元测试的检查,可以选择直接跳过单元测试。
mvn install -DskipTests
或
mvn install -Dmaven.test.skip=true
如何判断是否为中国IP
亚洲所有相关分配的IP段可以从 http://ftp.apnic.net/apnic/stats/apnic/delegated-apnic-latest 查询。
从里面解释后即可实现判断IP是否为中国。
import java.io.InputStream;
import java.nio.charset.StandardCharsets;
import java.util.Collections;
import java.util.List;
import java.util.Map;

import org.apache.commons.io.IOUtils;
import org.apache.commons.lang3.StringUtils;
import org.assertj.core.util.Lists;
import org.slf4j.Logger;
import org.slf4j.LoggerFactory;

import com.google.common.collect.Maps;

public class IpUtil {
    private static final String FILE_NAME = "delegated-apnic-latest";

    // 只存放属于中国的ip段
    private static Map> chinaIps = Maps.newHashMap();
    static {
        init();
    }

    public static void init() {
        try {
            // ip格式: add1.add2.add3.add4
            // key为 : add1*256+add2
            // value为int[2]: int[0]存的add3*256+add4的开始ip int[4]存的结束ip
            Map> map = Maps.newHashMap();

            InputStream input = Thread.currentThread().getContextClassLoader().getResourceAsStream(FILE_NAME);
            List lines = IOUtils.readLines(input, StandardCharsets.UTF_8);
            for (String line : lines) {
                if (line.startsWith("apnic|CN|ipv4|")) {
                    // 只处理属于中国的ipv4地址
                    String[] strs = line.split("\\|");
                    String ip = strs[3];
                    String[] add = ip.split("\\.");
                    int count = Integer.valueOf(strs[4]);

                    int startIp = Integer.parseInt(add[0]) * 256 + Integer.parseInt(add[1]);
                    while (count > 0) {
                        if (count >= 65536) {
                            // add1,add2 整段都是中国ip
                            chinaIps.put(startIp, Collections.EMPTY_LIST);
                            count -= 65536;
                            startIp += 1;
                        } else {

                            int[] ipRange = new int[2];
                            ipRange[0] = Integer.parseInt(add[2]) * 256 + Integer.parseInt(add[3]);
                            ipRange[1] = ipRange[0] + count;
                            count -= count;

                            List list = map.get(startIp);
                            if (list == null) {
                                list = Lists.newArrayList();
                                map.put(startIp, list);
                            }

                            list.add(ipRange);
                        }
                    }
                }
            }
            chinaIps = map;
        } catch (Exception e) {
            logger.error("ERROR", e);
        }
    }

    public static boolean isChinaIp(String ip) {
        if (StringUtils.isEmpty(ip)) {
            return false;
        }
        String[] strs = ip.split("\\.");
        if (strs.length != 4) {
            return false;
        }
        int key = Integer.valueOf(strs[0]) * 256 + Integer.valueOf(strs[1]);
        List list = chinaIps.get(key);
        if (list == null) {
            return false;
        }
        if (list.size() == 0) {
            // 整段都是中国ip
            return true;
        }
        int ipValue = Integer.valueOf(strs[2]) * 256 + Integer.valueOf(strs[3]);
        for (int[] ipRange : list) {
            if (ipValue >= ipRange[0] && ipValue <= ipRange[1]) {
                return true;
            }
        }

        return false;
    }

    private static final Logger logger = LoggerFactory.getLogger(IpUtil.class);
}
WebRtc的支持
因为代码需要翻墙下载,故建议在海外的主机上,先在docker容器中建立相应的编译环境,然后把镜像拷贝回来。如果镜像的系统与本地的系统是同一个版本如centosv7.3,则可以从镜像中把包拷贝出来,在宿主机编译。
————————-
源代码获取步骤
1.下载depot_tools工具,并把执行路径加入环境变量中。
export PATH=$PATH:/path/depot_tools
2.按以下步骤
mkdir webrtc-checkout
cd webrtc-checkout
fetch --nohooks webrtc
gclient sync,在这个步骤时如果出错,可能是缺少bzip2及bzip2-devel库。
编译步骤
1.把depot_tools的执行路径加入到系统中。
source depot_tools_env.sh
2.在webrtc_checkout/src目录下,生成或清理原编译代码。
gn gen out/Default && gn clean out/Default
3.在webrtc_checkout/src目录下,执行程序编译指令
ninja -C out/Default
—————————————
编译工具使用:depot_tools
https://storage.googleapis.com/chrome-infra/depot_tools.zip
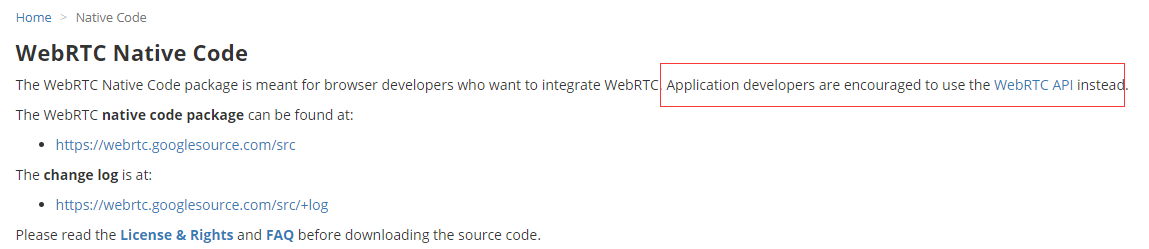
官方建议使用WebRtc Api的版本进行开发。
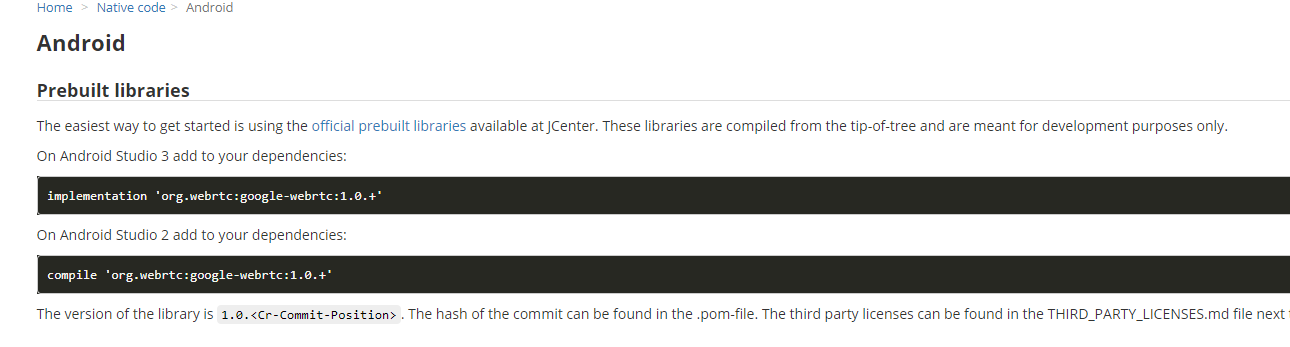
一、Android预编译库
https://webrtc.org/native-code/android/
https://bintray.com/google/webrtc/google-webrtc
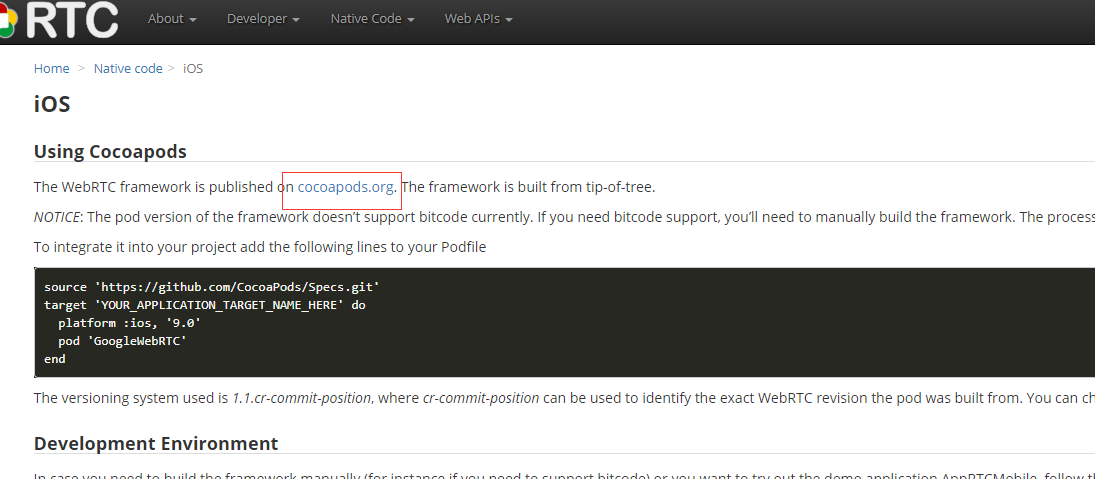
二、IOS预编译库
https://webrtc.org/native-code/ios/
https://cocoapods.org/pods/GoogleWebRTC
三、原生API
https://webrtc.org/native-code/native-apis/
OpenWebRtc的版本,最后更新日期是2015年4月26日
https://www.openwebrtc.org/
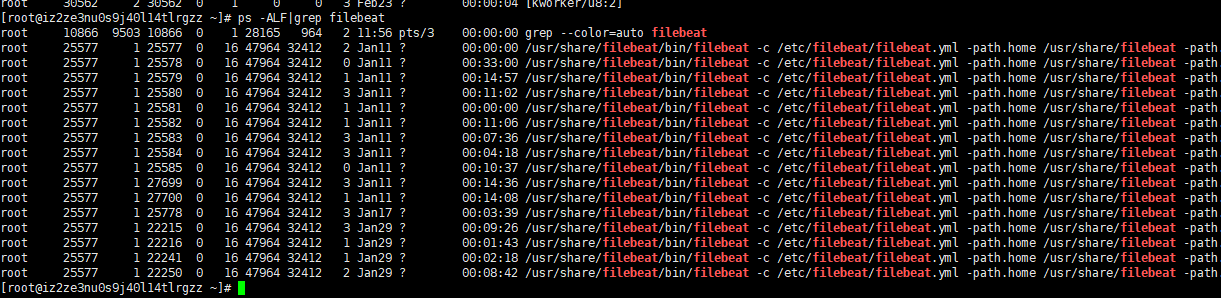
常用的Linux维护命令
1.ps -ALF
2.