月度归档:2015年10月

yii的URL美化

ULR美化需要nginx的配合完成的。
本人是使用阿里云的lnmp构建。故以其为例,记录如下:
1.nginx的配置如下:
首先是rewrite规则,在/alidata/server/nginx/conf/rewrite目录下增加aixuefo.conf文件,其内容如下:

location / {
if (-f $request_filename/index.html){
rewrite (.*) $1/index.html break;
}
if (-f $request_filename/index.php){
rewrite (.*) $1/index.php;
}
if (!-f $request_filename){
rewrite (.*) /index.php;
}
}

接着是主站的配置,在/alidata/server/nginx/conf/vhosts目录下新增aixuefo.conf文件,其内容如下:
server {
listen 80;
server_name www.aixuefo.com aixuefo.com;
index index.html index.htm index.php;
root /alidata/www/aixuefo;
location ~ .*\.(php|php5)?$
{
fastcgi_pass unix:/alidata/server/php/var/run/php5-fpm.sock;
#fastcgi_pass 127.0.0.1:9132;
fastcgi_index index.php;
include fastcgi.conf;
}
location ~ .*\.(gif|jpg|jpeg|png|bmp|swf)$
{
expires 30d;
}
location ~ .*\.(js|css)?$
{
expires 1h;
}
#伪静态规则
include /alidata/server/nginx/conf/rewrite/aixuefo.conf;
access_log /alidata/log/nginx/access/aixuefo.log;
}

然后是yii的组件配置:如下
‘urlManager’=>[
‘enablePrettyUrl’=>true,
‘rules’=>[
// ‘dashboard’ => ‘site/index’,
//
// ‘POST s’ => ‘/create’,
// ‘s’ => ‘/index’,
//
// ‘PUT /‘ => ‘/update’,
// ‘DELETE /‘ => ‘/delete’,
// ‘/‘ => ‘/view’,
// ‘//‘ => ‘/‘,
‘posts’ => ‘post/default/list’, 只测试这个小小例子
],

],
QML退出进程例子

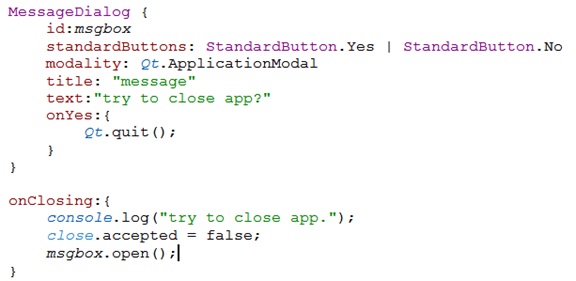
abc
MessageDialog {
id:msgbox
standardButtons: StandardButton.Yes | StandardButton.No
modality: Qt.ApplicationModal
title: "message"
text:"try to close app?"
onYes:{
Qt.quit();
}
}

onClosing:{
console.log("try to close app.");
close.accepted = false;
msgbox.open();
}

Qt的编译宏

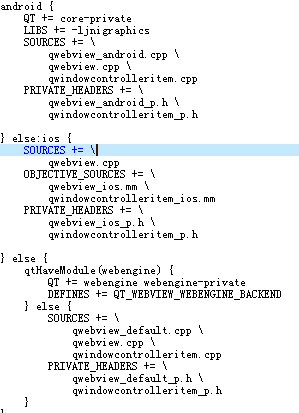
打开pro项目文件,其宏格式如下:


android标识代表,是应用android平台,因为qt是支持android和IOS的,android和IOS的配置差异就可以通过这来标识。

贴一个Android和IOS的宏:

QtAndroid调用java的例子

1.QtCreator创建QtExtra工程。

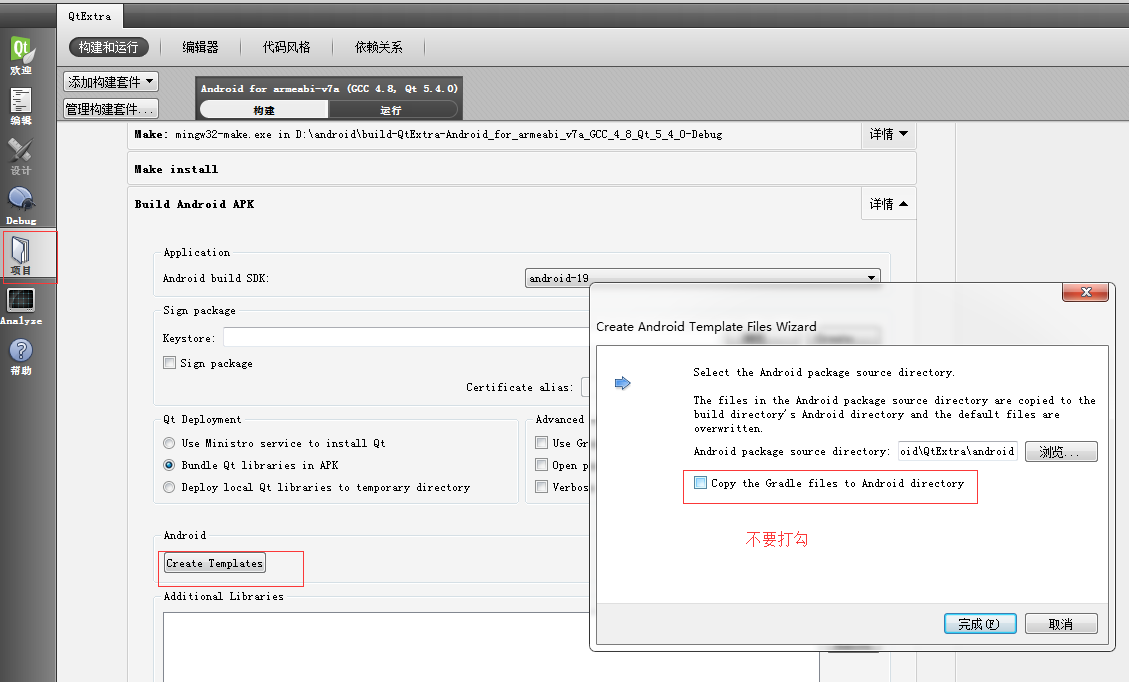
2.打开:项目->创建模板->确定。则可产生一个AndroidManifest.xml创建文件。


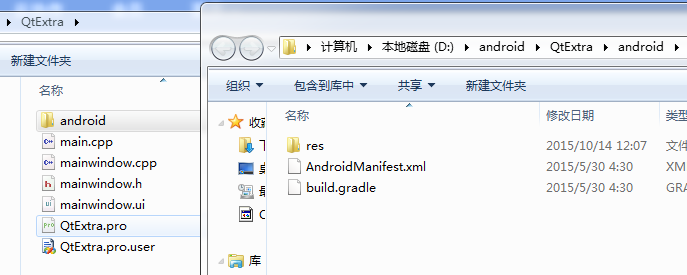
3.检查一下AndroidManifest.xml的所在目录。


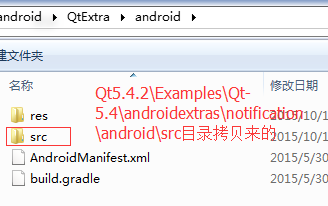
4.参考Qt5.4.2\Examples\Qt-5.4\androidextras\notification的例子,将其子目录android-sources\src目录拷贝到你的工程里,如下:


5.修改src目录下NotificationClient.java文件,如下:

package
org.qtproject.example.notification;

import
android.content.Context;


public
class
NotificationClient
extends
org.qtproject.qt5.android.bindings.QtActivity

{


public
static
String
systemProxy()


{


String
hostdef=“”,
host=“”,
port=“”;


int
portdef=0;


try{


hostdef
=
android.net.Proxy.getDefaultHost();


portdef
=
android.net.Proxy.getDefaultPort();


host
=
System.getProperty(“http.proxyHost”);


port
=
System.getProperty(“http.proxyPort”);


}catch(Exception
e){


}


return
hostdef+“:”+portdef+“|”+host+“:”+port;


}

}


6.pro文件中添加androidextras库:

QT
+=
androidextras

7.main.cpp函数里,这样调用:

#include
<QtAndroidExtras/QAndroidJniObject>

#include
<QDebug>

QAndroidJniObject
stringArray
=
QAndroidJniObject::callStaticObjectMethod(“org/qtproject/example/notification/NotificationClient”,
“systemProxy”,“()Ljava/lang/String;”);

QString
my
=
stringArray.toString();

qDebug()
<<
“my:”
<<
my;

8编译测试:


HTTPS证书生成方式

1.下载openssl的相关工具包。
2.使用以下命令生成相关https证书
如你的网站是example.com
openssl genrsa -out example.com.key 2048
openssl req -new -x509 -key example.com.key -out example.com.cert -days 3650 -subj /CN=example.com
注:本例子是在linux下测试。
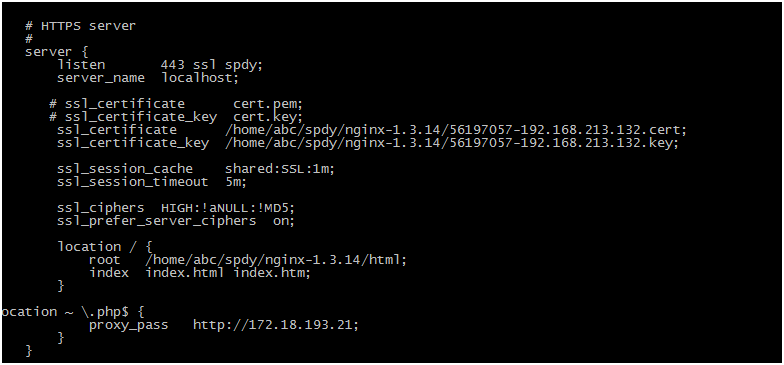
在原来配置下新增如下配置则可:
ssl on;
ssl_certificate vhosts/kxtry.com.cert;
ssl_certificate_key vhosts/kxtry.com.key;

更复杂一点的配置如下:
nginx配置如下