https://github.com/joker8023/confluence
https://blog.csdn.net/weixin_41381248/article/details/80409567
https://blog.csdn.net/sltin/article/details/95491176
月度归档:2020年07月
k8s的几种快捷安装方式
内置ISTIO的kubeSphere,100%开源。
KubeOperator另一个K8s开源。
https://gitee.com/q7104475/K8s:更简单的方式
1.https://github.com/easzlab/kubeasz,以Ansible工具进行远程安装。
2.https://github.com/fanux/sealos,离线安装
3.kuboard.cn的教程安装
4.rancher管理工具内自带安装引导。
5.基于kubespray工具安装,因为防火墙的原因,需要修改为国内镜像源。
https://blog.csdn.net/forezp/article/details/82730382
https://blog.csdn.net/zhouzixin053/article/details/104418164
其它参考:
https://github.com/kelseyhightower/kubernetes-the-hard-way
https://github.com/opsnull/follow-me-install-kubernetes-cluster
枚举问题POD及输出其问题
1.获取当前所有的命名空间
kubectl get ns
2.遍历命名空间,检查非Running状态的容器如ImagePullBackOff/ContainerCreating等,如下。
kubectl get pods -n kube-system
 [root@k8smaster ~]# kubectl get pods -n kube-system
NAME                                       READY   STATUS              RESTARTS   AGE
calico-kube-controllers-5b8b769fcd-lsjt4   1/1     Running             2          6d3h
calico-node-6l6r4                          1/1     Running             2          6d2h
calico-node-gt95n                          1/1     Running             2          6d3h
coredns-546565776c-4bn2d                   1/1     Running             2          6d3h
coredns-546565776c-cwpk7                   1/1     Running             2          6d3h
etcd-k8smaster                             1/1     Running             2          6d3h
kube-apiserver-k8smaster                   1/1     Running             3          6d3h
kube-controller-manager-k8smaster          1/1     Running             2          6d3h
kube-proxy-7s8dw                           1/1     Running             2          6d2h
kube-proxy-cbgtv                           1/1     Running             2          6d3h
kube-scheduler-k8smaster                   1/1     Running             2          6d3h
kuboard-7bb89b4cc4-bk7d4                   0/1     ContainerCreating   0          15m
metrics-server-7f96bbcc66-qjk5b            0/1     ContainerCreating   0          15m
3.获取问题POD的输出内容。
kubectl describe pod kuboard-7bb89b4cc4-bk7d4 --namespace=kube-system

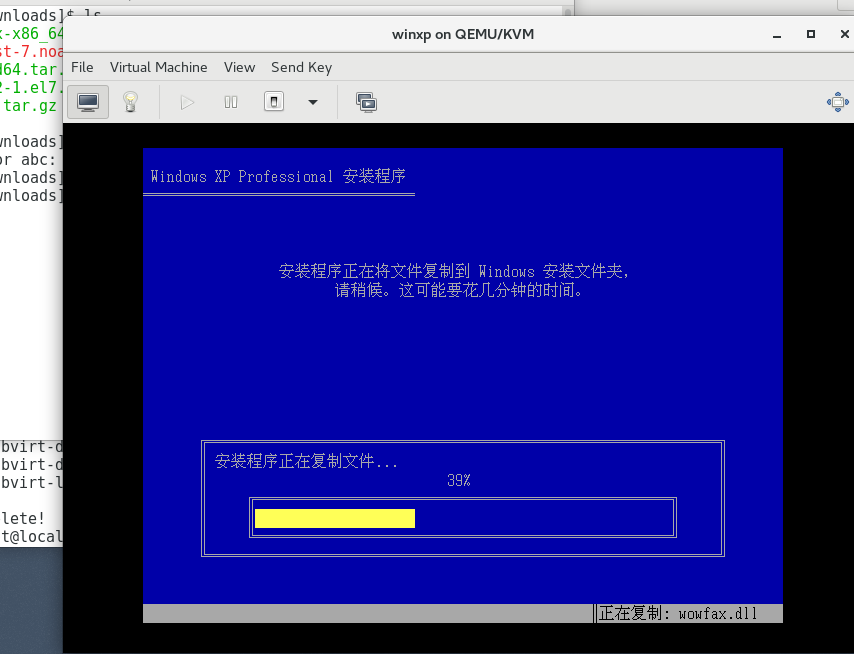
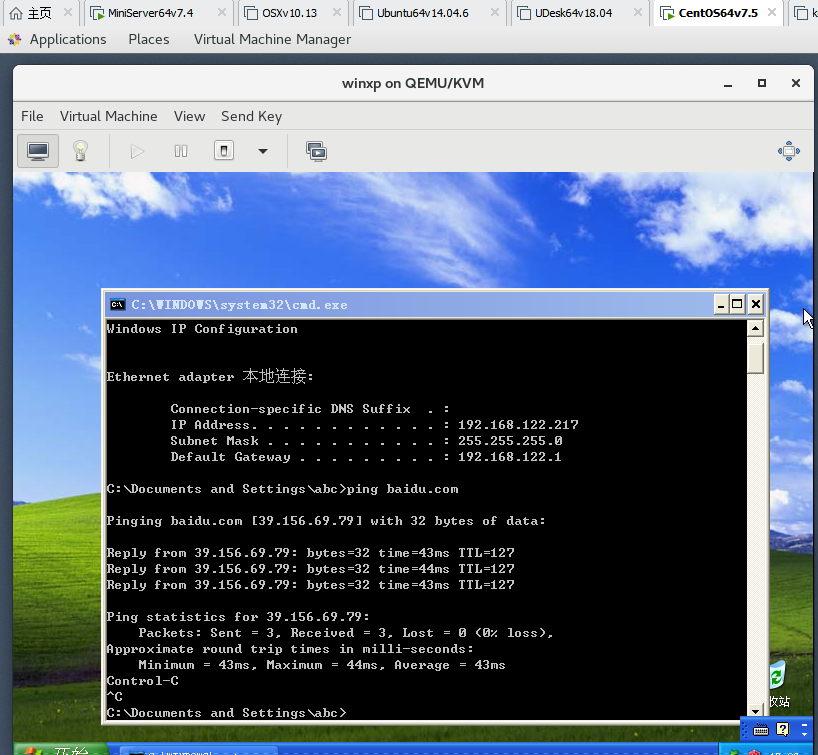
KVM虚拟机安装
centos中kvm安装
yum install qemu-img qemu-kvm qemu-kvm-tools virt-manager virt-viewer virt-v2v virt-top libvirt libvirt-python libvirt-client python-virtinst bridge-utils tunctl
安装网桥
yum install bridge-utils.x86_64
Centos默认没有快照,需要添加源
cat   /etc/yum.repos.d/qemu-kvm-rhev.repo
[qemu-kvm-rhev]
name=oVirt rebuilds of qemu-kvm-rhev
baseurl=http://resources.ovirt.org/pub/ovirt-3.5/rpm/el7Server/
mirrorlist=http://resources.ovirt.org/pub/yum-repo/mirrorlist-ovirt-3.5-el7Server
enabled=1
skip_if_unavailable=1
gpgcheck=0
yum install qemu-kvm-rhev -y
快照命令
virsh list
virsh save vm vm.snapshot1
[root@localhost Downloads]# virsh list
 Id    Name                           State
----------------------------------------------------
 5     centos7.0                      running

[root@localhost Downloads]# virsh save centos7.0 vm.snapshot1

Domain centos7.0 saved to vm.snapshot1
k8s常用命令
1.获取所有命名空间
kubectl get ns
2.获取所有某个命名空间的所有pods
kubectl get pods –namespace nginx-ingress
3.获取命名空间下的所有服务【它会返回服务的IP和端口】
kubectl get svc -n istio-system 或 kubectl get service -n istio-system
[root@k8smaster ~]# kubectl get svc
NAME          TYPE        CLUSTER-IP      EXTERNAL-IP   PORT(S)    AGE
details       ClusterIP   10.96.191.232           9080/TCP   26h
kubernetes    ClusterIP   10.96.0.1               443/TCP    12d
productpage   ClusterIP   10.96.167.107           9080/TCP   26h
ratings       ClusterIP   10.96.29.174            9080/TCP   26h
reviews       ClusterIP   10.96.0.213             9080/TCP   26h
4.直接访问某个服务及相应端号。
curl -v 10.96.167.107:9080
5.容器的IP段为10.100.xxx.xxx,而ClusterIP又是存放在哪里呢?它实际上是不存在的但却是被kube-proxy分配和保存在iptables上的。
iptables -S -t nat
[root@k8sworker ~]# iptables -S -t nat|grep 10.96.167.107
-A KUBE-SERVICES ! -s 10.100.0.0/16 -d 10.96.167.107/32 -p tcp -m comment --comment "default/productpage:http cluster IP" -m tcp --dport 9080 -j KUBE-MARK-MASQ
-A KUBE-SERVICES -d 10.96.167.107/32 -p tcp -m comment --comment "default/productpage:http cluster IP" -m tcp --dport 9080 -j KUBE-SVC-ROH4UCJ7RVN2OSM4
v2ray的搭建
官方模板:https://github.com/v2fly/v2ray-examples
最络容器部署:https://hub.docker.com/r/teddysun/v2ray
防火墙规则表:https://raw.githubusercontent.com/gfwlist/gfwlist/master/gfwlist.txt
1.docker-compose.yml的配置
version: "3"

services:
  v2ray:
    #image: v2ray/official
    image: teddysun/v2ray
    container_name: v2ray
    restart: always
    ports:
      - "45368:45368"
      - "45369:45369"
    volumes:
      - ./data:/etc/v2ray
      - ./v2ray.config.json:/etc/v2ray/config.json:ro
2.v2ray.config.json的配置
{
  "inbound": {
    "port": 45368,
    "protocol": "vmess",
    "settings": {
      "clients": [
        {
          "id": "bda8368e-b622-4cb6-9833-dc3f9881344f",
          "level": 1,
          "alterId": 233
        }
      ]
    }
  },
  "outbound": {
    "protocol": "freedom",
    "settings": {}
  },
  "inbounddetour": [
    {
      "protocol": "shadowsocks",
      "port": 45369,
      "settings": {
        "method": "aes-256-gcm",
        "password": "xxxxx",
        "udp": false
      }
    }
  ],
  "outbounddetour": [
    {
      "protocol": "blackhole",
      "settings": {},
      "tag": "blocked"
    }
  ],
  "routing": {
    "strategy": "rules",
    "settings": {
      "rules": [
        {
          "type": "field",
          "ip": [
            "0.0.0.0/8",
            "10.0.0.0/8",
            "100.64.0.0/10",
            "127.0.0.0/8",
            "169.254.0.0/16",
            "172.16.0.0/12",
            "192.0.0.0/24",
            "192.0.2.0/24",
            "192.168.0.0/16",
            "198.18.0.0/15",
            "198.51.100.0/24",
            "203.0.113.0/24",
            "::1/128",
            "fc00::/7",
            "fe80::/10"
          ],
          "outboundtag": "blocked"
        }
      ]
    }
  }
}
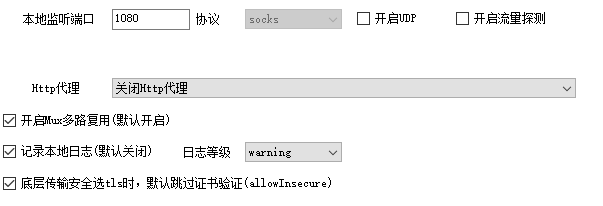
3.客户端配置【默认是Sock5代理】

4.谷歌SwitchyOmega插件的配置

cmake编译兼容xp代码
命令行中如下:
cmake -DCMAKE_GENERATOR_TOOLSET=v120_xp ../woterm && cmake –build . –config Release
在CMakeFiles.txt中编译可执行文件是如下这样:
set(CMAKE_EXE_LINKER_FLAGS “${CMAKE_EXE_LINKER_FLAGS} /SUBSYSTEM:WINDOWS,5.01”) #Win32程序
或
set(CMAKE_EXE_LINKER_FLAGS “${CMAKE_EXE_LINKER_FLAGS} /SUBSYSTEM:CONSOLE,5.01”) #Console程序。
vs2013编译兼容xp版本代码
在vs2017中需要加上_USING_V110_SDK71_,强制指定SDK的版本。
perl Configure VC-WIN32 –prefix=H:\VC_INCLUDE\OpenSSL-Win32_MSVC141_xp -D_WIN32_WINNT=0x0501 -D_USING_V110_SDK71_
在VS2013中
perl Configure VC-WIN32 –prefix=H:\VC_INCLUDE\OpenSSL-Win32_MSVC141_xp -D_WIN32_WINNT=0x0501
 这不是它的工作方式。 回到VS2012,您使用了Project + Properties,General,Platform Toolset设置并选择了v110_xp 。 这进行了几次设置更改。 作为副作用 ,您还可以定义_USING_V110_SDK71_宏。 这是准确的,其中一个设置更改是您将使用SDK版本7.1标头和库而不是版本8. 7.1是最后一个仍与XP兼容的SDK版本。
 这对任何事情都不重要,到目前为止,您获得的最重要的变化是链接器的系统,最低要求版本设置。 使用v110_xp可确保将此设置更改为XP版本号5.01。 没有它你的目标6.00,Vista版本号。 这是一个非常重要的设置,当您告诉它您设计的程序在最新的Windows版本上运行良好时,Windows会关注它并关闭几个appcompat垫片。
 在VS2013中它仍然可以正常工作。 选择v120_xp工具集。
That's not the way it worked. Back in VS2012, you used the Project + Properties, General, Platform Toolset setting and selected v110_xp. Which made several setting changes. As a side-effect, you'd also get the _USING_V110_SDK71_ macro defined. Which is accurate, one of the setting changes is that you'll use the SDK version 7.1 headers and libraries instead of version 8. 7.1 is the last SDK version that's still compatible with XP.
Which isn't actually important for anything, by far the most important change that you got was the linker's System, Minimum Required Version setting. Using v110_xp ensured that this setting was changed to 5.01, the XP version number. Without it you target 6.00, the Vista version number. It is a very important setting, Windows pays attention to it and turns off several appcompat shims when you tell it that you designed your program to run well on the latest Windows versions.
It still works the same in VS2013. Select the v120_xp toolset.
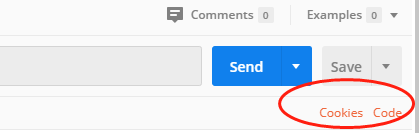
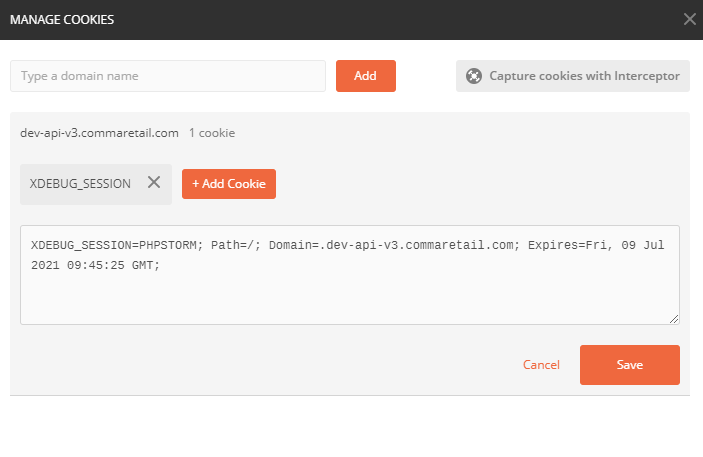
创建XDEBUG的调试COOKIES
创建XDEBUG的调试COOKIES
查看容器的启动参数
1.pip install runlike
2.runlike -p 容器ID
root@ubuntu:~# runlike -p 498c3ad49c46
docker run \
        --name=nginx \
        --hostname=nginx \
        --env=PATH=/usr/local/sbin:/usr/local/bin:/usr/sbin:/usr/bin:/sbin:/bin \
        --env='NGINX_VERSION=1.15.12-1~stretch' \
        --env='NJS_VERSION=1.15.12.0.3.1-1~stretch' \
        --volume=/data/php/dnmp/nginx/conf.d:/etc/nginx/conf.d:ro \
        --volume=/data/php/www:/www:rw \
        --volume=/data/php/dnmp/nginx/nginx.conf:/etc/nginx/nginx.conf:ro \
        --volume=/etc/nginx/conf.d \
        --volume=/etc/nginx/nginx.conf \
        --volume=/www \
        --network=dnmp_lnmp \
        -p 443:443 \
        --expose=80 \
        --label com.docker.compose.project="dnmp" \
        --label com.docker.compose.version="1.18.0" \
        --label com.docker.compose.oneoff="False" \
        --label com.docker.compose.service="nginx" \
        --label com.docker.compose.config-hash="4ad2cd21b7c3c4d0b69776274ea51f5de602a725aa
f3ec1c14c39511051aa904" \
        --label maintainer="NGINX Docker Maintainers " \
        --label com.docker.compose.container-number="1" \
        --detach=true \
        nginx:latest \
        nginx -g 'daemon off;'